How to Pressure Wash a Driveway with a Surface Cleaner: A Comprehensive Guide

Dylan Cherko • Apr 07, 2023

Are you looking for an effective way to keep your property clean and well-maintained? If so, pressure washing might just be the answer you've been looking for! It's a great way to quickly and easily clean various outdoor surfaces, including driveways, walkways, and patios.


In this article, we will give you a step-by-step guide on how to pressure wash your driveway with a surface cleaner. Trust us, with the right equipment, and you'll be able to tackle this task like a pro.


Using a pressure washer with a surface cleaner is the most efficient way to clean large outdoor areas. You may be wondering why surface cleaners are so important. Well, they distribute water evenly across the surface, reducing the time and effort required to clean the area. And who doesn't love saving time and effort, right?


So, are you ready to get started on
pressure washing your driveway? Then, let's dive into the details and get this job done!
   

Preparation Steps for Pressure Washing Your Driveway with a Surface Cleaner

Before you begin pressure washing your driveway, you must prepare the area and ensure you have the right equipment. Proper preparation is essential to ensure you achieve the best results and avoid damaging your driveway or any surrounding surfaces. Here are the steps you need to follow to prepare for pressure washing:


  1. Clear the area: The first step in preparing for pressure washing is to clear the area of any obstacles, such as cars, toys, or furniture. This will give you more space to work with and ensure you don't accidentally damage any objects in the process.
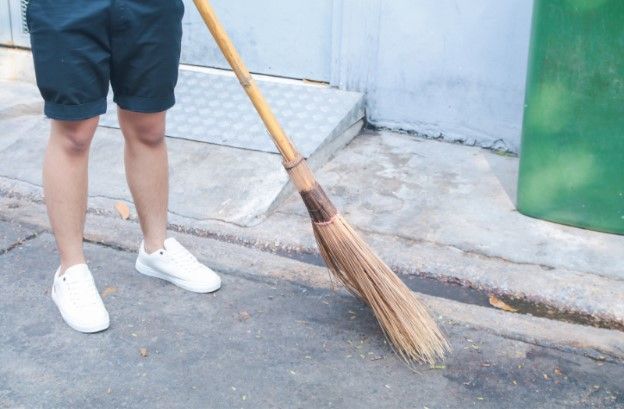
  2. Sweep the surface: Use a broom to sweep away any loose debris, such as leaves, dirt, and rocks. This will make it easier for the pressure washer to remove any stubborn stains or grime.
  3. Check the pressure washer: Before you start washing, ensure your pressure washer is in good working condition and that all the nozzles are securely attached. Check the hoses for leaks or damage and ensure the water supply is connected and turned on.
  4. Fill the pressure washer: Fill the pressure washer with water and add the appropriate cleaning solution per the manufacturer's instructions. Be sure to use a cleaning solution that is safe for use on your driveway surface.
  5. Connect the surface cleaner: Finally, connect the surface cleaner to the pressure washer and make sure it is securely attached. The pressure washer surface cleaner will help you clean your driveway more efficiently and effectively than using just the pressure washer alone.


Essential Steps for Safe and Effective Pressure Washing with a Surface Cleaner
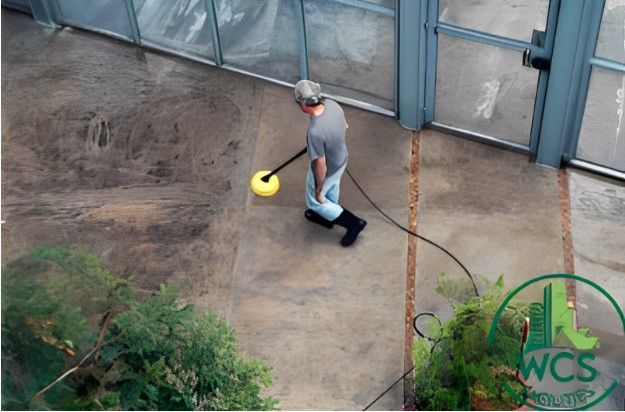
Now that you have prepared the area and equipment, it's time to start pressure washing. Before diving into the process, it's important to understand that pressure washing can be dangerous if not done properly. Therefore, it's essential to take the necessary precautions and follow the recommended guidelines to ensure your safety and avoid damaging your property. Follow these steps carefully to get the best results and make the process stress-free.


  1. Start at the farthest point: Starting at the farthest point from the house or garage and working your way back will make the process more efficient. It will help prevent you from stepping on the cleaned area and ensure you don't miss any spots.
  2. Use a back-and-forth motion: When using a surface cleaner, move the attachment back and forth across the surface in overlapping rows, ensuring that you cover the entire area. This technique will help you achieve an even clean and prevent streaks or lines from forming on the surface.
  3. Apply even pressure: Applying even pressure to the surface cleaner is essential to ensure the water is evenly distributed. This will help prevent damage to the surface and ensure that the cleaning solution is distributed evenly across the entire area.
  4. Avoid staying in one spot: Staying in one spot for too long can cause damage to the surface and leave marks or streaks. Move the surface cleaner at a steady pace and avoid lingering in one area for too long.
  5. Rinse the surface: Once you have finished pressure washing, it's important to rinse the surface thoroughly with clean water to remove any remaining cleaning solution. This will help prevent the cleaning solution from drying on the surface and leaving behind streaks or residue.


Conclusion:


Pressure washing your driveway with a surface cleaner can quickly and easily keep your property looking clean and well-maintained. Following the steps outlined in this comprehensive guide, you can prepare the area, ensure you have the right equipment, and safely and effectively pressure wash your driveway. Remember to take the necessary precautions and follow the recommended guidelines to ensure your safety and avoid damaging your property. By doing so, you'll achieve excellent results and have your driveway look new in no time!


You might also like
By Michael Mintz 01 Oct, 2024
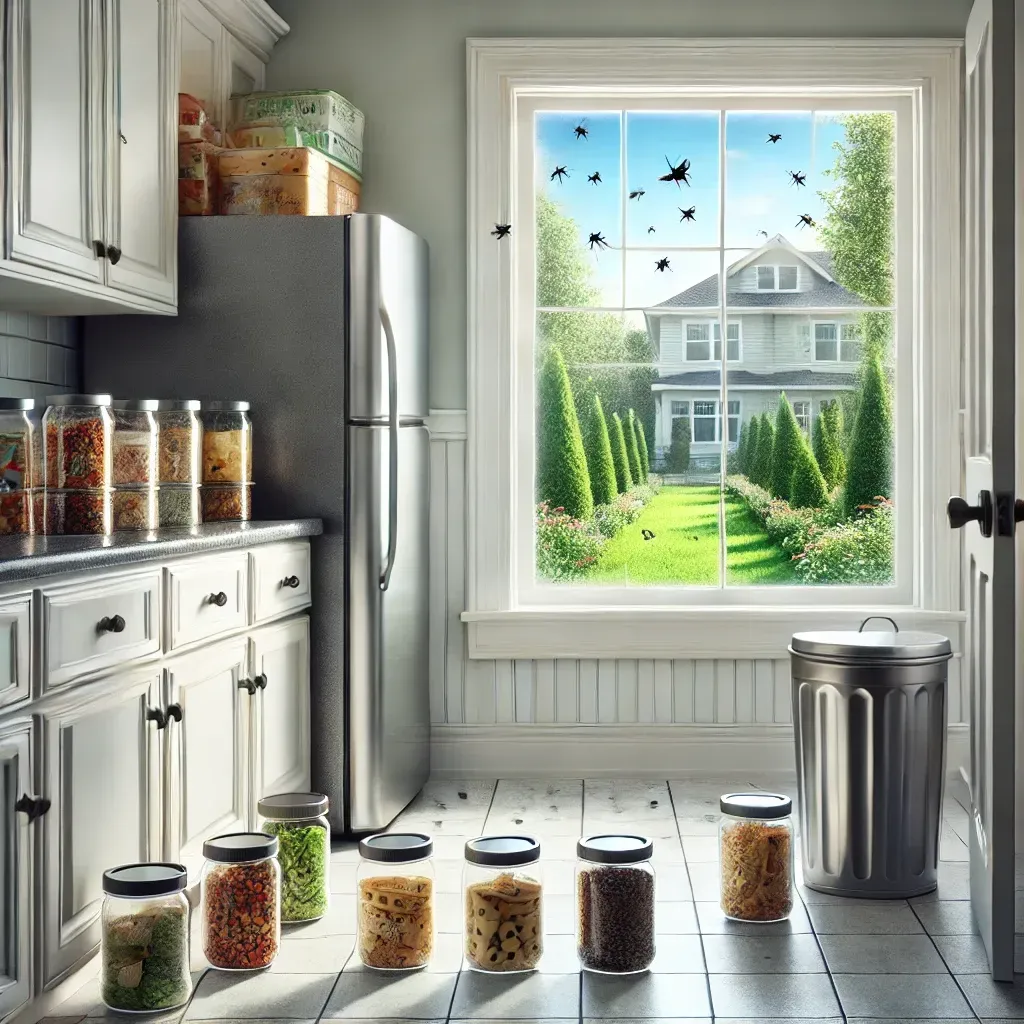
A pest infestation can quickly turn your home or business into an uncomfortable and unhealthy environment. From ants and cockroaches to rodents and spiders, unwanted pests are not only annoying but can also pose health risks and damage your property. The good news is, with a few proactive measures, you can prevent infestations and keep pests out of your space. Here’s how: 1. Seal Entry Points Pests can find their way into your home through even the smallest cracks and openings. To block these potential entry points, inspect your home’s foundation, windows, doors, and walls for any gaps or cracks. Use caulk or weatherstripping to seal these areas and keep pests from entering. 2. Keep a Clean Environment Pests are always on the hunt for food, and even small crumbs or spills can attract them. Make it a habit to clean up food spills immediately, wipe down countertops, and sweep or vacuum regularly to keep your floors free of debris. In the kitchen, store food in airtight containers to eliminate easy access for pests like ants, mice, and pantry moths. 3. Proper Waste Management Trash is one of the biggest attractants for pests. Make sure to take out the garbage regularly and use trash bins with tight-fitting lids. Clean the area around your trash cans, and avoid letting garbage pile up, as it can become a feeding ground for pests. 4. Eliminate Moisture Sources Pests are drawn to water just as much as food. Leaky pipes, dripping faucets, or areas with standing water can attract pests such as cockroaches, termites, and mosquitoes. Fix any plumbing issues promptly and ensure your home stays dry. For areas prone to moisture, like basements or bathrooms, consider using a dehumidifier to control the humidity levels. 5. Keep Landscaping in Check Pests can make their way into your home from outside, so it’s important to maintain your yard as well. Trim back trees, bushes, and plants that are too close to your home, as overgrown landscaping can provide shelter for pests. Additionally, eliminate standing water in birdbaths, gutters, and other outdoor containers, as these can be breeding grounds for mosquitoes. 6. Regular Inspections Regularly inspect your property for signs of pests, such as droppings, gnawed wires, or nests. Catching a problem early on can prevent a full-blown infestation. It may also be beneficial to schedule regular pest control inspections with a professional to keep your home protected. By following these simple steps, you can maintain a pest-free environment and avoid the headaches that come with infestations. Prevention is key, and a little effort now can save you a lot of trouble down the road. Stay proactive, stay clean, and keep pests at bay! Contact WCS for any assistance needed with keeping a safe home environment.
By Michael Mintz 26 Sep, 2024
Taking care of your home doesn’t have to be overwhelming. By tackling a few key maintenance tasks once a year, you can keep your home in excellent condition and avoid costly repairs down the line. To help you stay organized, here’s an annual home maintenance checklist that covers both indoor and outdoor tasks. Indoor Maintenance Tasks Flush Your Water Heater Over time, sediment can build up inside your water heater, reducing its efficiency and potentially shortening its lifespan. Flushing the tank annually will help remove sediment buildup, improving performance and extending the heater’s life. Declutter Your Home Take time to go through unused items in your home. Consider donating or discarding things you no longer need. Decluttering will free up space, keep your home organized, and make it easier to clean. Clean Out Crawl Spaces and Inspect Insulation Crawl spaces are often neglected, but they can impact your home’s energy efficiency. Clear out debris and inspect the insulation to ensure your home is properly protected from heat loss in the winter and heat gain in the summer. Seal Tile and Grout Tiles, especially in bathrooms and kitchens, are prone to mold and mildew if not sealed properly. Ensure that the grout and tiles are sealed to protect them from water damage and to make cleaning easier. Scrub Around Sinks and Tubs Over time, caulking around sinks and tubs can wear down, allowing water to seep into places it shouldn’t. Scrub these areas thoroughly and look out for damaged sections to prevent water damage. Schedule a Termite Inspection Termites can cause significant structural damage to a home if left unchecked. An annual termite inspection by a professional can catch any issues early, saving you from extensive and expensive repairs. Outdoor Maintenance Tasks Inspect and Repair Driveways and Walkways Cracks and damage to driveways and walkways can worsen over time, creating hazards. Inspect these areas annually and repair any damage to prevent further deterioration and improve safety. Empty and Inspect Your Septic Tank Your septic system requires regular care to avoid backups and failures. Having the septic tank emptied and inspected once a year will help keep your system functioning properly. Check the Grading Around Your Foundation Water should always flow away from your home’s foundation. Check the grading around your home to ensure it slopes correctly, and regrade if necessary to prevent water from pooling near the foundation. Inspect the Foundation for Cracks or Flaws Even small cracks in your foundation can lead to big problems over time. Inspect your home’s foundation annually for any cracks or other signs of damage, and repair them promptly to avoid costly issues. Conclusion By staying on top of these essential annual maintenance tasks, you can keep your home safe, efficient, and running smoothly. A little attention each year can save you from the headaches and costs associated with major repairs down the road.
Enhancing Your Facility with Professional Painting Services
17 Sep, 2024
At WCS Facilities, we understand the significance of a well-maintained and visually appealing environment, and our comprehensive painting services are designed to enhance your facility while providing long-term benefits.
More Posts

Book a Service Today

Share by: